Transmogrifier Basics#
In this section you will:
Learn the basic pipeline setup
Install the necessary add-ons
Create a migration package
Transmogrifier Setup and Terminology#
The import is set up by creating a
pipeline. The pipeline is a series of steps, each pointing to ablueprint. The blueprint is the Python code that is run for that particular step in the pipeline. Each item being imported runs through the full pipeline before moving on to the next item.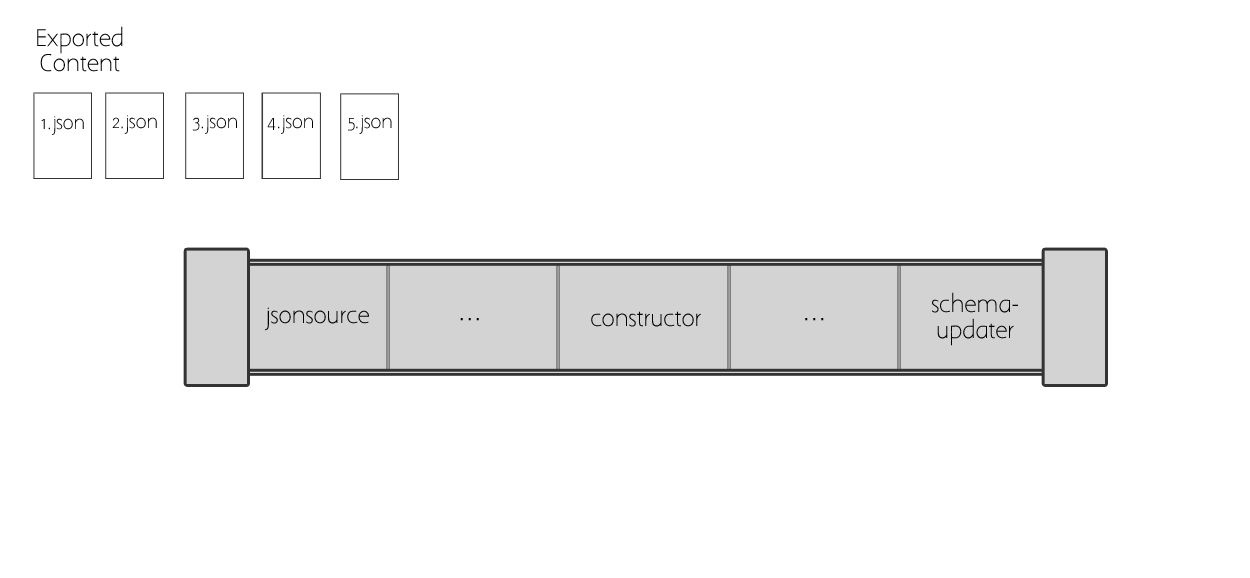
If you have an older Plone site, your content is likely using Archetypes-style content types. Newer Plone sites use Dexterity, so a large part of the upgrade process is moving to Dexterity content types. The steps and add-ons in this training will set up Dexterity-style types.
A jsonify export is built so that folders are exported before their containing items. The
pathto each item is included in the data, and this is what Transmogrifier uses for building the new site's structure. If you leave all the paths alone and import all items from the old site, you should not end up with any broken links!
Add-ons#
A few add-ons are needed for running Transmogrifier. With the package you create in the next step, these will be automatically installed. Note there are more than just these packages available, depending on what you are doing with your import.
collective.jsonmigrator (for migrating from json)
transmogrify.dexterity
collective.transmogrifier - a dependency of transmogrify.dexterity
Create a Migration Package#
With mr.bob and bobtemplates.migration, you can quickly set up a package for handling migrations:
pip install bobtemplates.migration
mrbob -O ploneconf.migration bobtemplates.migration:jsonify
This command will ask a few questions about the author (you), and what version of Plone you want to use. Check plone.org for the latest version.
The created package can be used as an add-on in an existing buildout, or as a buildout on its own. For this training, we'll use it on its own. Follow the instructions below to get a sample Plone site running. Use Python 3 if you are creating a Plone 5.2+ instance (recommended).
Note
As of this writing, the Transmogrifer add-ons have unreleased Python 3 fixes.
To use the Python 3 branches, edit plone52.cfg
and uncomment the auto-checkout with the [sources] section.
Please commit any Python 3 fixes you find that need to be made to these add-ons!
cd ploneconf.migration
virtualenv env --python=python3.7
env/bin/pip install zc.buildout
env/bin/buildout
bin/instance fg
This will start up the instance in foreground mode for you,
and will be accessible in your browser at http://localhost:8080.
Click the Create a new Plone site button, and create a site with the id Plone.
Login for the site is username admin, password admin.
Note
If you have any issues with the created migration package, please submit issues at collective/bobtemplates.migration#issues