TTW Theming II: Create A Custom Theme Based On Barceloneta#
In this section you will:
Create a new theme by inheriting from the Barceloneta theme.
Use the
manifest.cfgto register a production CSS file.Use an
XIncludeto incorporate rules from the Barceloneta theme.Use
?diazo.off=1to view unthemed versions.Use conditional rules to have a different backend theme from the anonymous visitors theme.
Topics covered:
Inheriting from Barceloneta theme.
Diazo rule directives and attributes.
Viewing the unthemed version of a Plone item.
Creating a visitor-only theme.
Inheriting From Barceloneta#
Copying Barceloneta makes your theme heavier and will likely make upgrading more difficult.
The Barceloneta theme provides many assets used by Plone's utilities that you do not need to duplicate.
New releases of the theme may introduce optimizations or bug fixes.
By referencing the Barceloneta rules and styles, instead of copying them, you automatically benefit from any updates to the Barceloneta theme while also keeping your custom theme relatively small.
Exercise 1 - Create A New Theme That Inherits From Barceloneta#
In this exercise we will create a new theme that inherits the Barceloneta rules and styles.
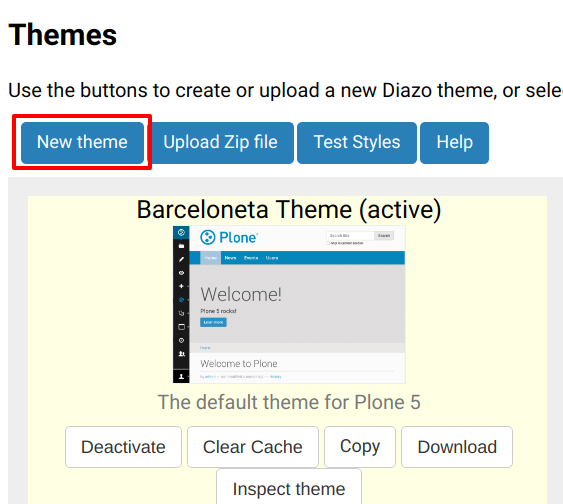
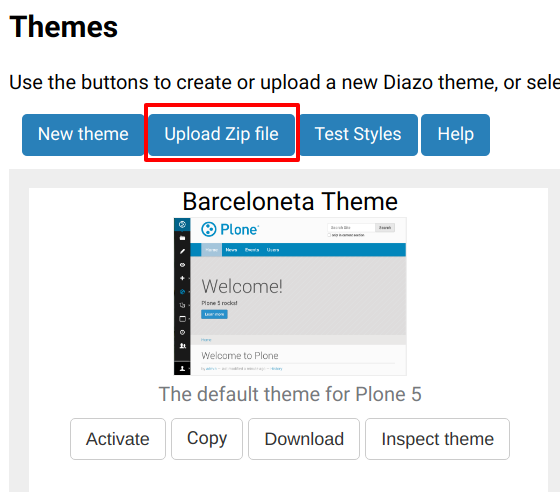
Go to the Theming control panel.
Click the New theme button to create a new theme:
Give the theme a name, e.g. "Custom", and click the checkbox to immediately enable the theme:
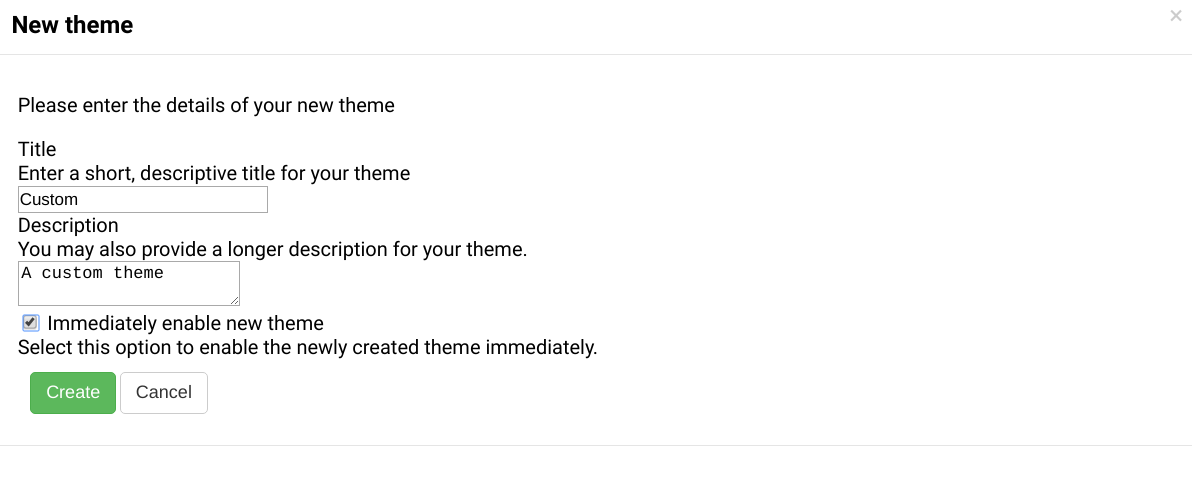
Click on Create and you get redirected to your new theme's inspector.
In the theming editor, ensure that your new theme contains the files
manifest.cfg,rules.xml,index.html(from Barceloneta) andstyles.less.Edit the file
manifest.cfgwhich contains the configuration for your theme:[theme] title = Custom description = A custom theme doctype = <!DOCTYPE html> development-css = ++theme++custom/styles.less production-css = ++theme++custom/styles.css
Edit the file
rules.xmlwhich includes the link to the Barceloneta rules:<?xml version="1.0" encoding="UTF-8"?> <rules xmlns="http://namespaces.plone.org/diazo" xmlns:css="http://namespaces.plone.org/diazo/css" xmlns:xsl="http://www.w3.org/1999/XSL/Transform" xmlns:xi="http://www.w3.org/2001/XInclude"> <!-- Import Barceloneta rules --> <xi:include href="++theme++barceloneta/rules.xml"><xi:fallback /></xi:include> <rules css:if-content="#visual-portal-wrapper"> <!-- Placeholder for your own additional rules --> </rules> </rules>
Create a copy of the file
index.htmlfrom Barceloneta (this one cannot be imported or inherited, it must be local to your theme).Edit the file
styles.lesswhich includes imports from the Barceloneta styles:/* Import Barceloneta styles */ @import "++theme++barceloneta/less/barceloneta.plone.less"; /* Customize whatever you want */ @plone-sitenav-bg: pink; @plone-sitenav-link-hover-bg: darken(pink, 20%); .plone-nav > li > a { color: @plone-text-color; }
Generate the
styles.cssCSS file usingstyles.less. Click the buttons Save and Build CSS to create the file.Your theme is ready.
Viewing The Unthemed Plone Site#
When you create your Diazo rules, it is important to know how the content Diazo is receiving from Plone is structured.
In order to see a "non-diazoed" version page, just add ?diazo.off=1 at the end of its URL.
Exercise 2 - Viewing The Unthemed Site#
Use ?diazo.off=1 to view the unthemed version of your site.
Using your browser's inspector, find out the location/name of some of Plone's elements.
Then try to answer the following:
What do you think is the difference between "content-core" and "content"?
There are several viewlets, how many do you count?
Can you identify any portlets, what do you think they are for?
Diazo Rule Directives And Attributes#
The Diazo rules file is an XML document containing rules to specify where the content elements (title, footer, main text, etc.) will be located in the targeted theme page. The rules are created using rule directives which have attributes; attribute values are either CSS expressions or XPath expressions.
CSS Selector Based Attributes#
It is generally recommended that you use CSS3 selectors to target elements in your content or theme. The CSS3 selectors used by Diazo directives are listed below:
css:themeUsed to select target elements from the theme using CSS3 selectors.
css:contentUsed to specify the element that should be taken from the content.
css:theme-childrenUsed to select the children of matching elements.
css:content-childrenUsed to identify the children of an element that will be used.
XPath Selector Based Attributes#
Depending on complexity of the required selector it is sometimes necessary or more convenient to use XPath selectors instead of CSS selectors.
XPath selectors use the unprefixed attributes theme and content.
The common XPath selector attributes include:
themeUsed to select target elements from the theme using XPath selectors.
contentUsed to specify the element that should be taken from the content using XPath selectors.
theme-childrenUsed to select the children of matching elements using XPath selectors.
content-childrenUsed to identify the children of an element that will be used using XPath selectors.
Condition about the current URL#
You can also create conditions about the current path using if-path.
For instance, a rule with if-path="/about" would only apply when the user visits http://www.mysite.com/about.
Nevertheless, most of the time it is better to target a body tag CSS class selector.
Note
For a more comprehensive overview of all the Diazo rule directives and related attributes see: http://docs.diazo.org/en/latest/basic.html#rule-directives
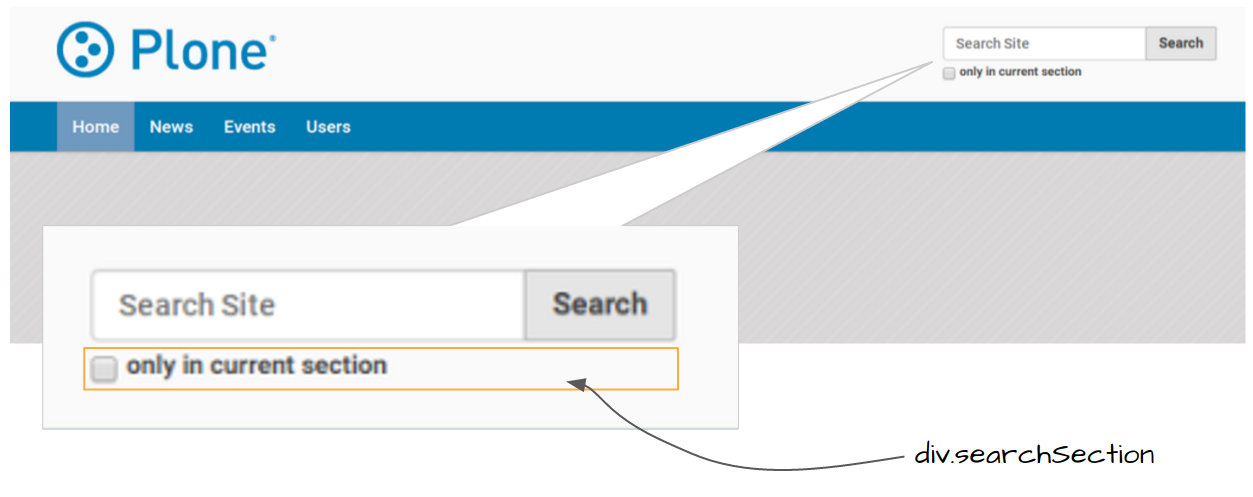
Exercise 3 - The <drop> Directive#
Add a rule that drops the "search section" checkbox from the search box. See the diagram below:
Conditional Attributes#
The following attributes can be used to conditionally activate a directive.
css:if-contentDefines a CSS3 expression: if there is an element in the content that matches the expression then activate the directive.
css:if-themeDefines a CSS3 expression: if there is an element in the theme that matches the expression then activate the directive.
if-contentDefines an XPath expression: if there is an element in the content that matches the expression then activate the directive.
if-themeDefines an XPath expression: if there is an element in the theme that matches the expression then activate the directive.
if-pathConditionally activate the current directive based on the current path.
Note
In a previous chapter we discussed the Plone <body> element and how to take advantage of the custom CSS classes associated with it.
We were introduced to the attribute css:if-content.
Remember that we are able to determine a lot of context related information from the classes, such as:
the current user role and permissions,
the current content-type and its template,
the site section and sub section,
the current subsite (if any).
Here is an example:
<body class="template-summary_view
               portaltype-collection
               site-Plone
               section-news
               subsection-aggregator
               icons-on
               thumbs-on
               frontend
               viewpermission-view
               userrole-manager
               userrole-authenticated
               userrole-owner
               plone-toolbar-left
               plone-toolbar-expanded
               plone-toolbar-left-expanded
               pat-plone
               patterns-loaded">
Converting An Existing HTML Template Into A Theme#
In the Plone "universe" it is not uncommon to convert an existing HTML template into a Diazo theme.
Ensure that when you zip up the source theme that there is a single folder in the root of the zip file.
We will explore this in more detail in the next exercise.
Exercise 4 - Convert A HTML Template Into A Diazo Theme#
In this exercise we will walk through the process of converting an existing free HTML theme into a Diazo-based Plone theme.
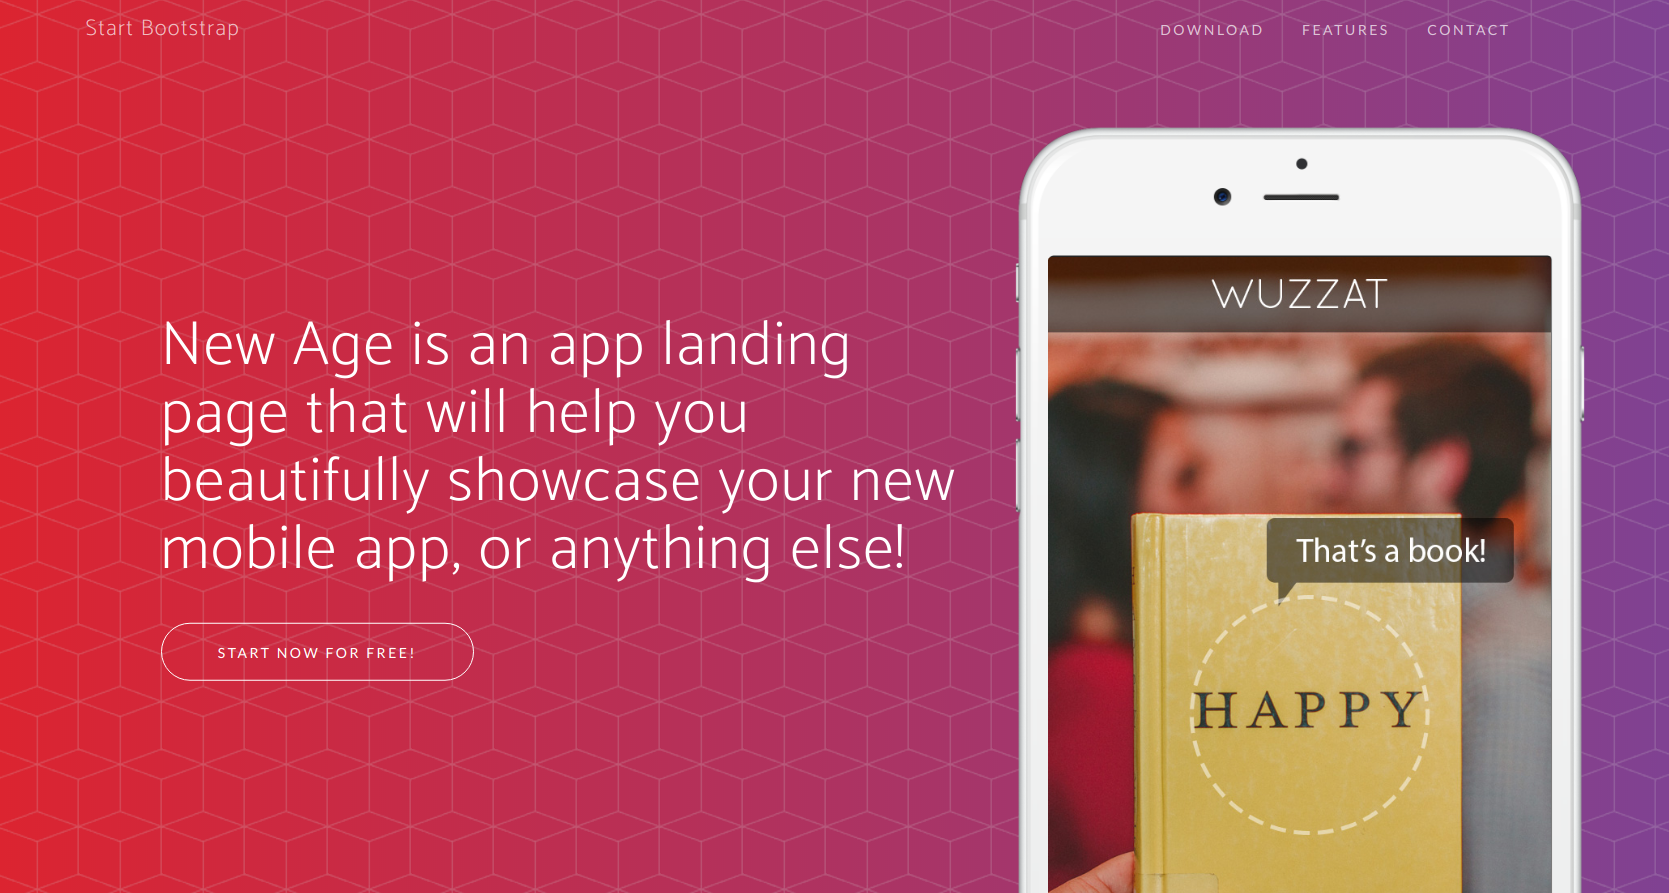
We've selected the free New Age Bootstrap theme. The theme is already packaged in a manner that will work with the theming tool.
Note
When being distributed, Plone themes are packaged as zip files. A theme should be structured such that there is only one top-level directory in the root of the zip file.
By convention the directory should contain your index.html.
The supporting files (CSS, JavasSript and other files) may be in subdirectories.
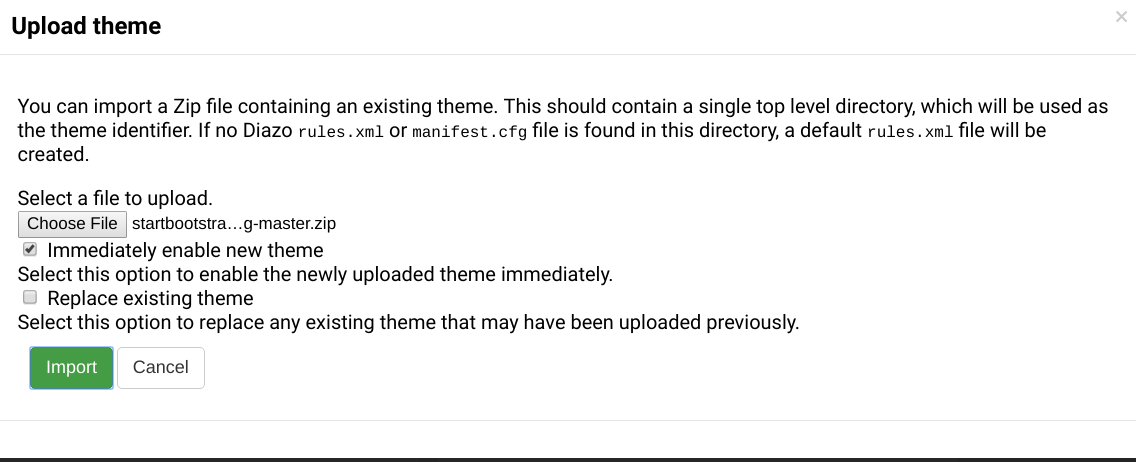
To get started download a copy of the New Age theme as a zip file. Then upload it to the theme control panel.
Select the downloaded zip file.
Add a
styles.lessfile and import the Barceloneta styles (look back to Exercise 1)./* Import Barceloneta styles */ @import "++theme++barceloneta/less/barceloneta.plone.less";
Add a
manifest.cfgfile, setproduction-cssequal tostyles.cssNote
Clean Blog is a free Bootstrap theme, the latest version is available on GitHub StartBootstrap/startbootstrap-clean-blog.
[theme]
title = New Age
prefix = /++theme++startbootstrap-new-age-master
doctype = <!DOCTYPE html>
development-css = ++theme++startbootstrap-new-age-master/styles.less
production-css = ++theme++startbootstrap-new-age-master/styles.css
Add rules to include the Barceloneta backend utilities.
<?xml version="1.0" encoding="UTF-8"?>
<rules
    xmlns="http://namespaces.plone.org/diazo"
    xmlns:css="http://namespaces.plone.org/diazo/css"
    xmlns:xsl="http://www.w3.org/1999/XSL/Transform"
    xmlns:xi="http://www.w3.org/2001/XInclude">

  <!-- Include the backend theme -->
  <xi:include href="++theme++barceloneta/backend.xml"><xi:fallback /></xi:include>

  <rules css:if-content="#visual-portal-wrapper">
    <!-- Placeholder for your own additional rules -->
  </rules>

</rules>
Add rules to include content, add site structure, drop unneeded elements, customize the menu.
Warning
Look out for inline styles in this theme (i.e. the use of the
styleattribute on a tag). This is especially problematic with background images set with relative paths. The two issues that result are:the relative path does not translate properly in the context of the theme;
it can be tricky to dynamically replace background images provided by inline styles.
Create A Visitor-Only Theme - Conditionally Enabling Barceloneta#
Sometimes it is more convenient for your website administrators to use Barceloneta, Plone's default theme. Other visitors would see a completely different layout provided by your custom theme.
To achieve this you will need to associate your visitor theme rules with an expression like css:if-content="body.userrole-anonymous".
For rules that will affect logged-in users you can use the expression css:if-content="body:not(.userrole-anonymous)".
Once you've combined the expressions above with the right Diazo rules you will be able to present an anonymous visitor with a specific HTML theme while presenting the Barceloneta theme to logged-in users.
Warning
The Barceloneta ++theme++barceloneta/rules.xml expects the Barceloneta index.html to reside locally in your current theme.
To avoid conflict and to accommodate the inherited Barceloneta, ensure that your theme file has a different name such as front.html.
Exercise 5 - Convert The Theme To Be A Visitor-Only Theme#
In this exercise we will alter our theme from the previous exercise to make it into a visitor-only theme.
Update the
rules.xmlfile to include Barceloneta rules.Add conditional rules to
rules.xmlso that the new theme is only shown to anonymous users. Rename the theme'sindex.htmltofront.htmland add a copy of the Barcelonetaindex.html.