Set up Plone for the Training#
We install the Plone backend and its React-based frontend Volto, starting with the following folder structure:
training
├── backend
└── frontend
In backend we install Plone and add our custom Python code.
In frontend we install Volto and add our custom React code.
Installing the backend#
We encourage you to install and run Plone on your own machine, as you will have important benefits:
You can work with your favorite editor.
You have all the code of Plone at your fingertips in
site-packagestree.
Prerequisites#
make. We recommend upgrading to at least make 4.
Installation#
Set up the backend with the training code: add-ons ploneconf.site and training.votable.
mkdir training
cd training
git clone https://github.com/collective/training_buildout.git backend
cd backend
Build your backend with:
make build
This build executes multiple tasks. The build
creates a Python virtual environment and installs prerequisites
generates a file structure to be prepared to install Plone packages with pip
generates Zope configuration with cookiecutter
By creating and working with a Python virtual environment, we are independent of the system Python installation. We install packages and its version according to our needs.
The build generates a file structure to be prepared to install Plone from packages with pip and mxdev. The tool mxdev helps with configuration files to define which add-ons and which versions to install.
It also allows to override Plone core package versions or force a checkout from github.
The documentation Manage Plone backend packages with mxdev provides information on common tasks.
The build generates Zope configuration files with cookiecutter cookiecutter-zope-instance.
The file we will modify to update our Zope / Plone configuration is instance.yaml.
In this file we will add add-ons that are installed as Python packages and shall be loaded in our instance.
instance.yaml is the one configuration file for our Zope / Plone instance.
The documentation of cookiecutter-zope-instance explains a lot more that can be configured like the port or another storage.
After changes in configuration files, a re-build is necessary:
make build
We are now ready to start the backend with:
make start
Voilà, your Plone is up and running on http://localhost:8080.
The output should be similar to:
katjasuss@purpur training % make start

2022-09-27 08:57:23,961 INFO    [Zope:42][MainThread] Ready to handle requests
Starting server in PID 28745.
2022-09-27 08:57:23,963 INFO    [waitress:486][MainThread] Serving on http://[::1]:8080
2022-09-27 08:57:23,963 INFO    [waitress:486][MainThread] Serving on http://127.0.0.1:8080
Troubleshooting: We are here to help: Please file an issue in training repo.
Point your browser to http://localhost:8080 to see Plone running.
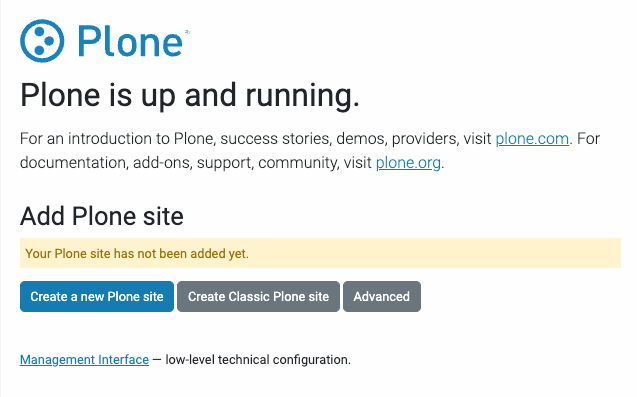
Plone, up and running.#
There is no Plone site yet. We will create one in the next chapter.
You can stop the running instance anytime using ctrl + c.
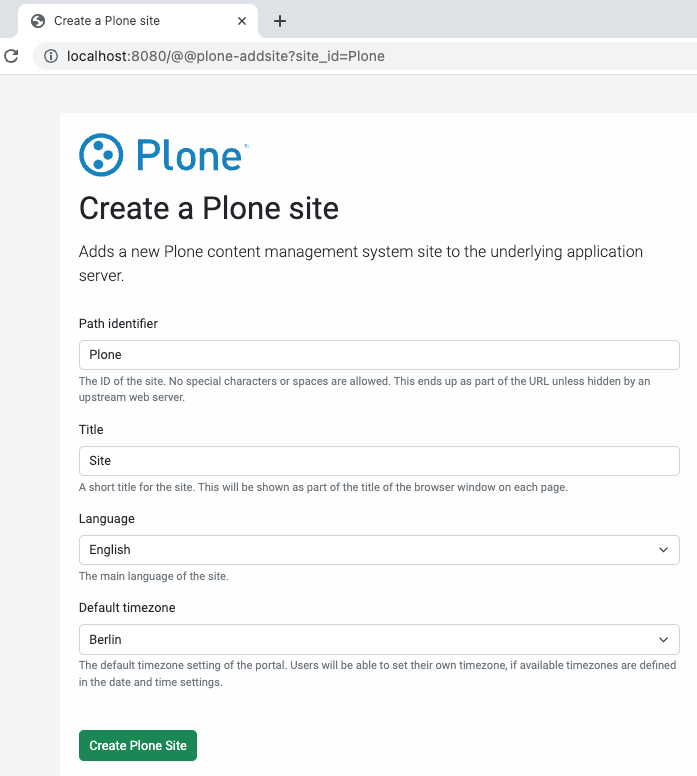
Ready to create a Plone instance#
Installing the frontend#
You have two options:
Create the frontend from scratch using the Volto generator.
Use the prepared Volto project volto-ploneconf with all the code for the training.
Option 1: Frontend from scratch with Volto generator#
plone6docs:frontend-getting-started-installing-volto-label
Option 2. Start with prepared training project volto-ploneconf with all code for the training#
Prepare the pre-requisites explained in Pre-requisites for installation.
Get the code for the frontend from GitHub and install:
git clone https://github.com/collective/volto-ploneconf.git frontend
cd frontend
yarn
Now you can start the app with:
$ yarn start
Create a Plone site object Plone on http://localhost:8080
Point your browser to http://localhost:3000 and see that Plone is up and running.
You can stop the frontend anytime using ctrl + c.