The Features of Plone#
In-depth user-manual: https://5.docs.plone.org/
See also: https://5.docs.plone.org/working-with-content/index.html
Starting and Stopping Plone#
We control Plone with a small script called "instance":
$ ./bin/instance fg
This starts Plone in foreground mode so that we can see what it is doing by monitoring console messages. This is an important development method. Note that when Plone is started in foreground mode, it is also automatically in development mode. Development mode gives better feedback, but is much slower, particularly on Windows.
You can stop it by pressing ctrl + c.
Apart from the fg command the instance script offers several more commands.
./bin/instance help shows the list of available commands, bin/instance help <command> will give a short help for each command.
Some commands you will use rather often are:
$ ./bin/instance fg
$ ./bin/instance start
$ ./bin/instance stop
$ ./bin/instance debug
$ ./bin/instance run myscript.py
$ ./bin/instance adduser name password
Depending on your computer, it might take up to a minute until Zope will tell you that it's ready to serve requests. On a decent laptop it should be running in under 15 seconds.
A standard installation listens on port 8080, so lets have a look at our Zope site by visiting http://localhost:8080
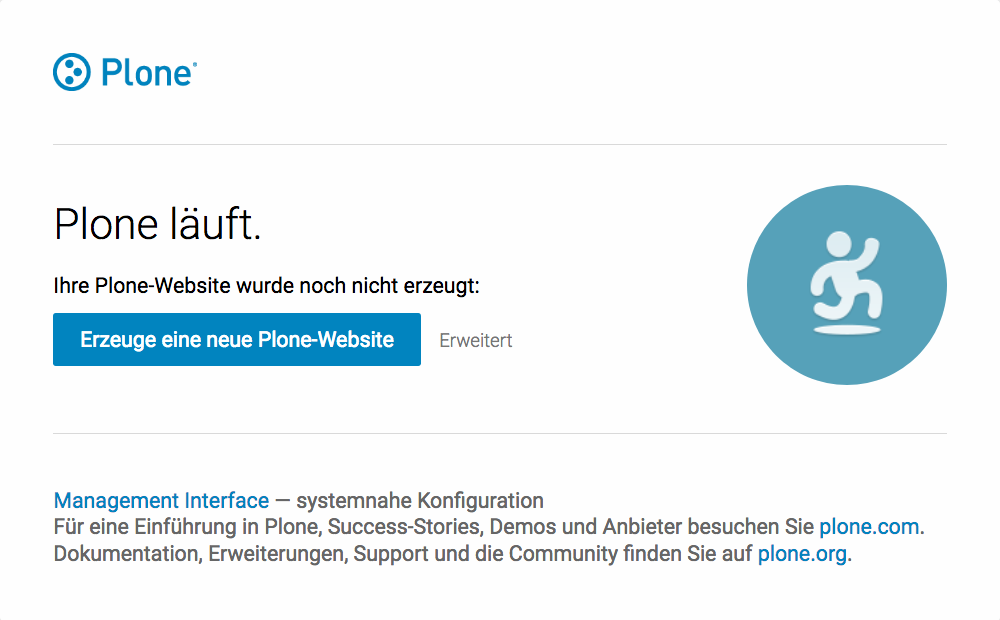
As you can see, there is no Plone site yet!
We have a running Zope with a database but no content.
But luckily there is a button to create a Plone site.
Click on that button (login: admin, password: admin).
This opens a form to create a Plone site.
Use Plone as the site id.
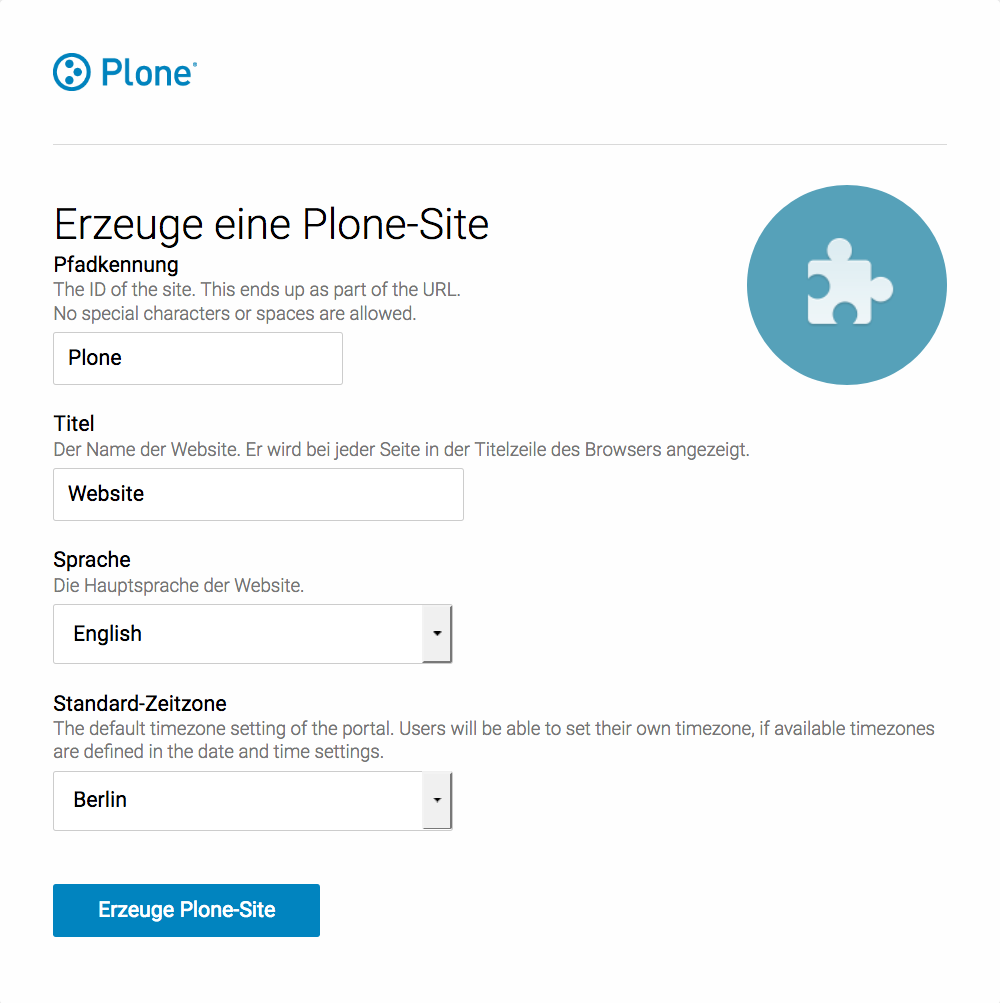
You will be automatically redirected to the new site.
Note
Plone has many message boxes. They contain important information. Read them and make sure you understand them!
Exercises#
Exercise 1#
Open the bin/instance script in your favorite editor. Now let's say you want Plone to listen on port 9080 instead of the default 8080. Looking at the script, how could you do this?
Exercise 2#
Knowing that bin/instance debug basically offers you a Python prompt, how would you start to explore Plone?
Exercise 3#
The app object you encountered in the previous exercise can be seen as the root of Plone. Once again using Python, can you find your newly created Plone site?
Walkthrough of the UI#
Let's see what is there...
header:
logo: with a link to the front page
searchbox: search (with live-search)
navigation: The global navigation
banner: A banner. Only visible on the front page.
portal-columns: a container holding:
portal-column-one: portlets (configurable boxes with tools like navigation, news etc.)
portal-column-content: the content and the editor
portal-column-two: portlets
portal-footer: portlets for the footer, site actions, and colophon
edit-zone: a vertical bar on the left side of the browser window with editing options for the content
These are also the CSS classes of the respective divs. If you want to do theming, you'll need them.
On the edit bar, we find options affecting the current context...
folder contents
edit
view
add
state
actions
display
manage portlets
history
sharing
rules
user actions
Some edit bar options only show when appropriate; for example, folder contents and add are only shown for Folders. rules is currently invisible because we have no content rules available.
Users#
Let's create our first users within Plone. So far we used the admin user (admin:admin) configured in the buildout. This user is often called "Zope root" and is not managed in Plone but only by Zope. Therefore the user is missing some features like email and full name and won't be able to use some of Plone's features. But the user has all possible permissions. As with the root user of a server, it's bad practice to make unnecessary use of Zope root. Use it to create Plone sites and their initial users, but not much else.
You can also add Zope users via the terminal by entering:
$ ./bin/instance adduser <someusername> <supersecretpassword>
That way you can access databases you get from customers where you have no Plone user.
To add a new user in Plone, click on the user icon at the bottom of the left vertical bar and then on Site setup. This is Plone's control panel. You can also access it by browsing to http://localhost:8080/Plone/@@overview-controlpanel
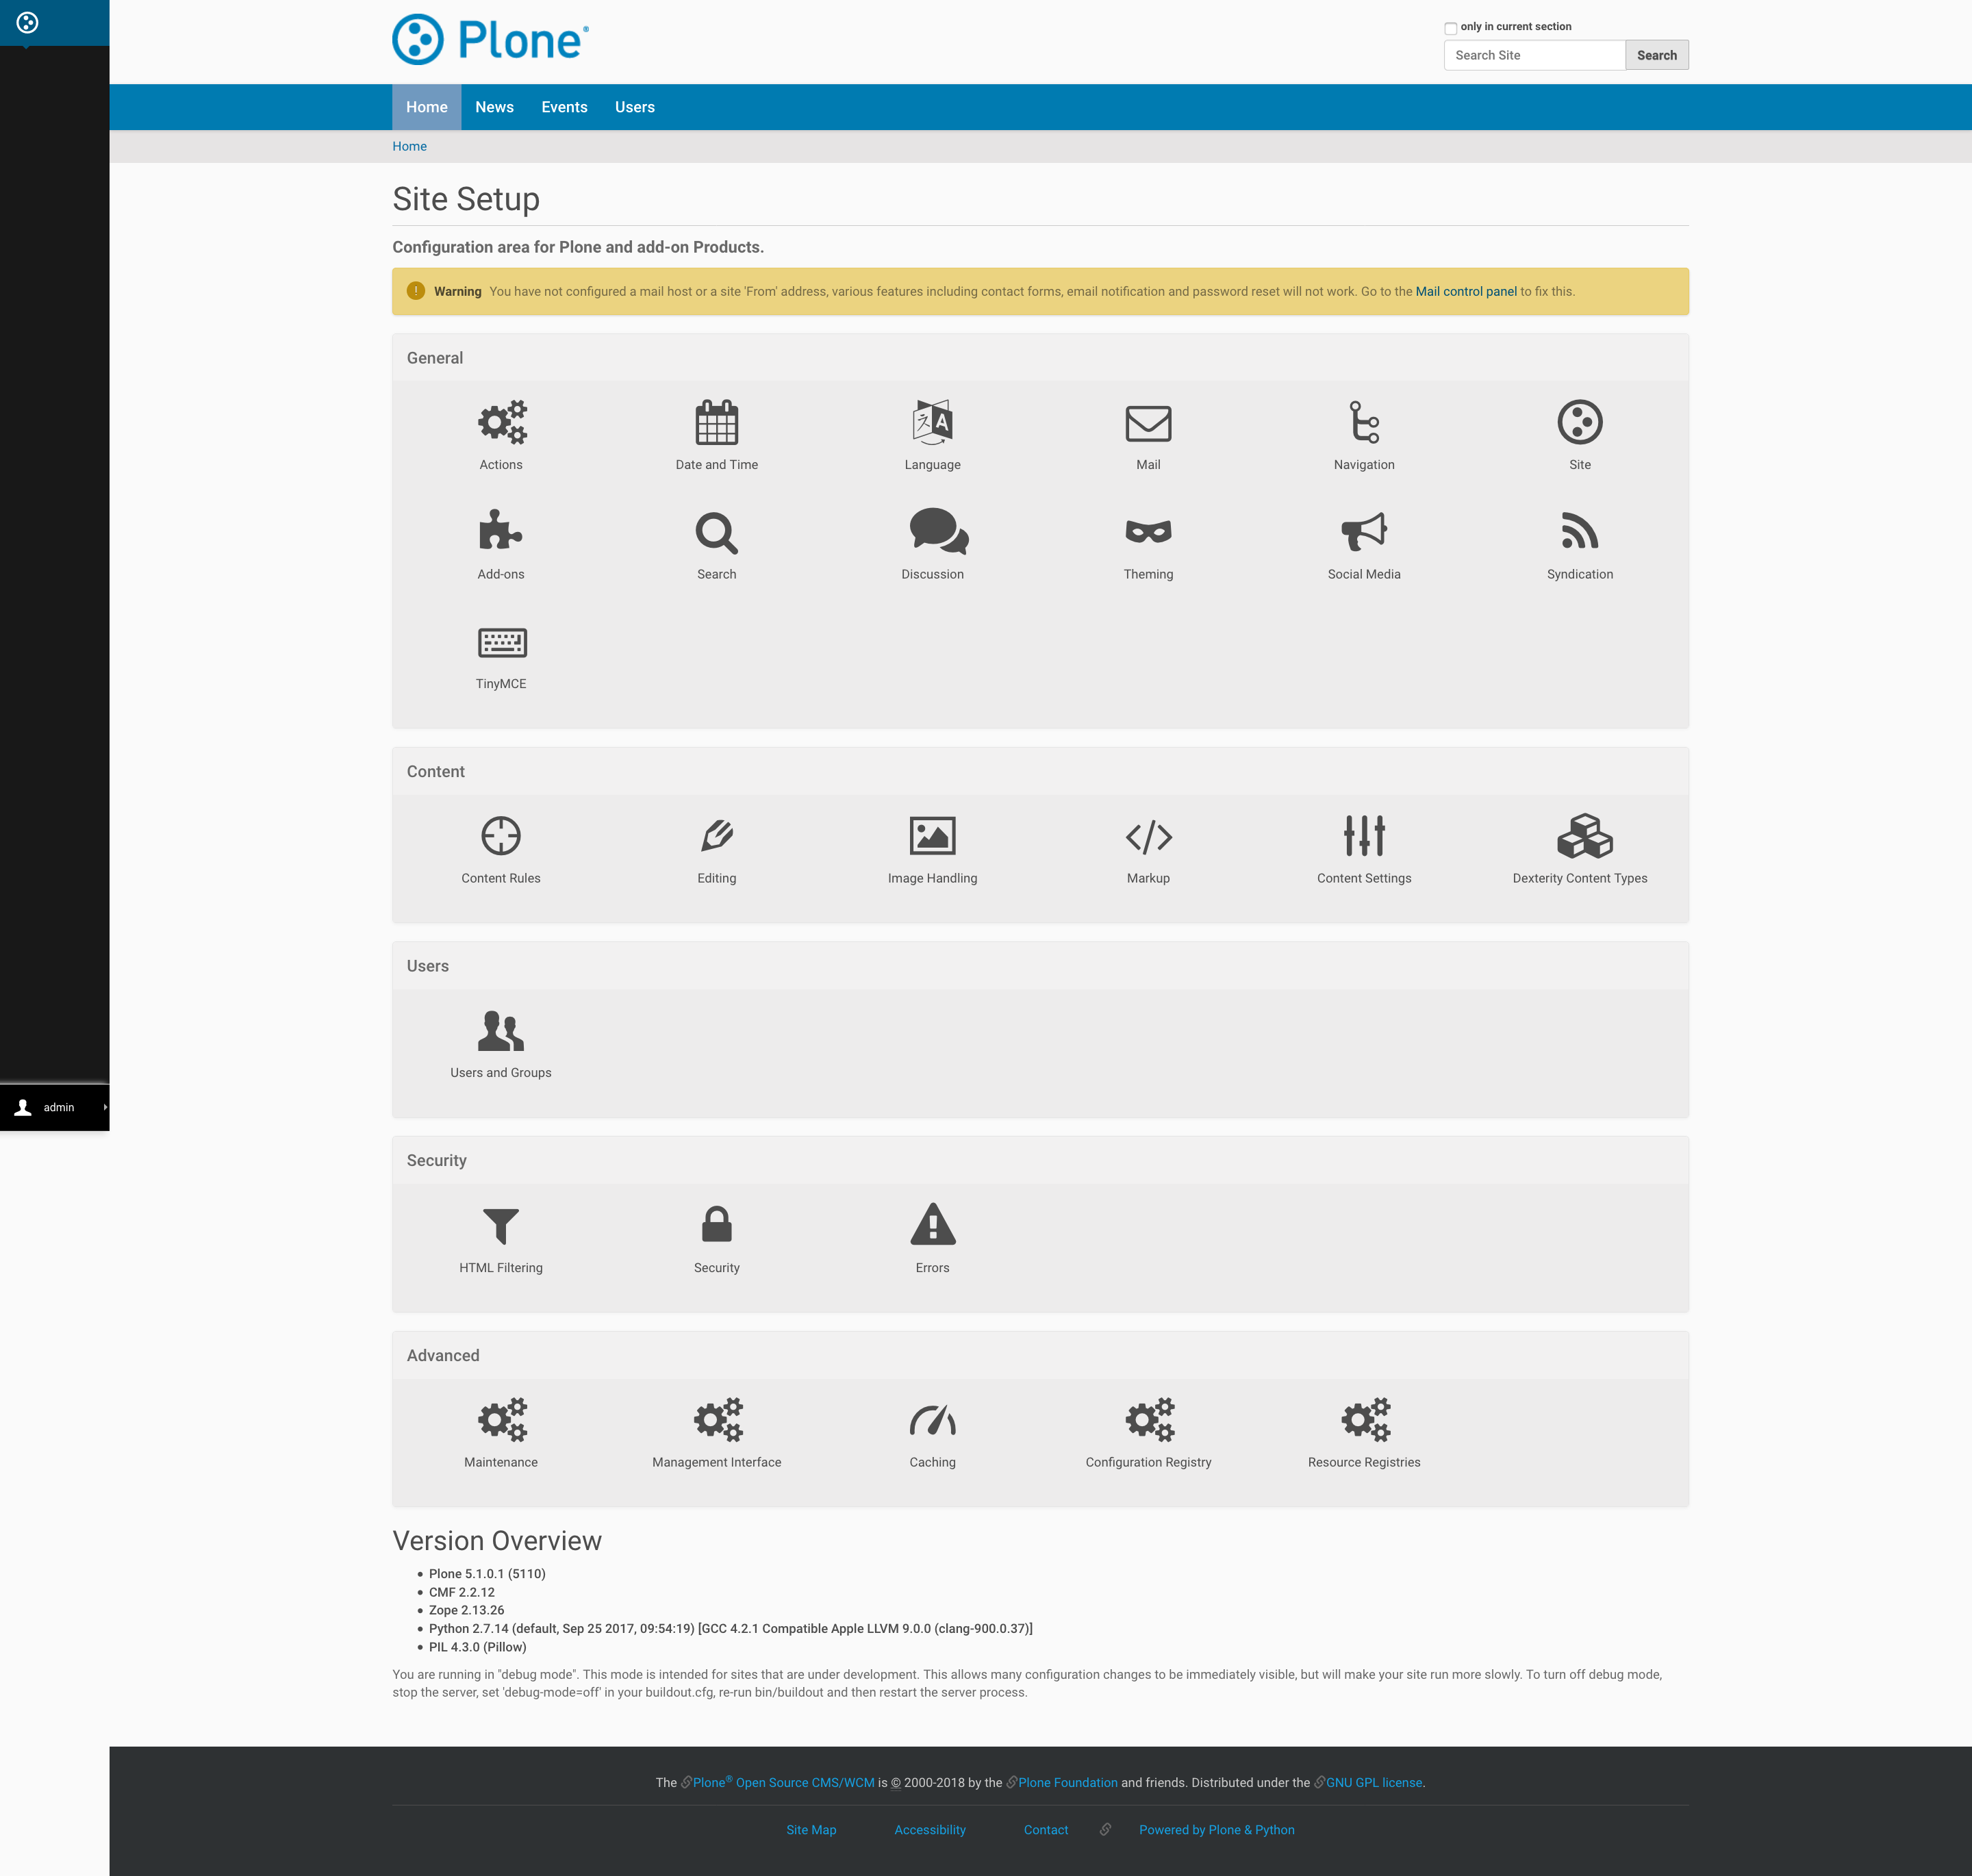
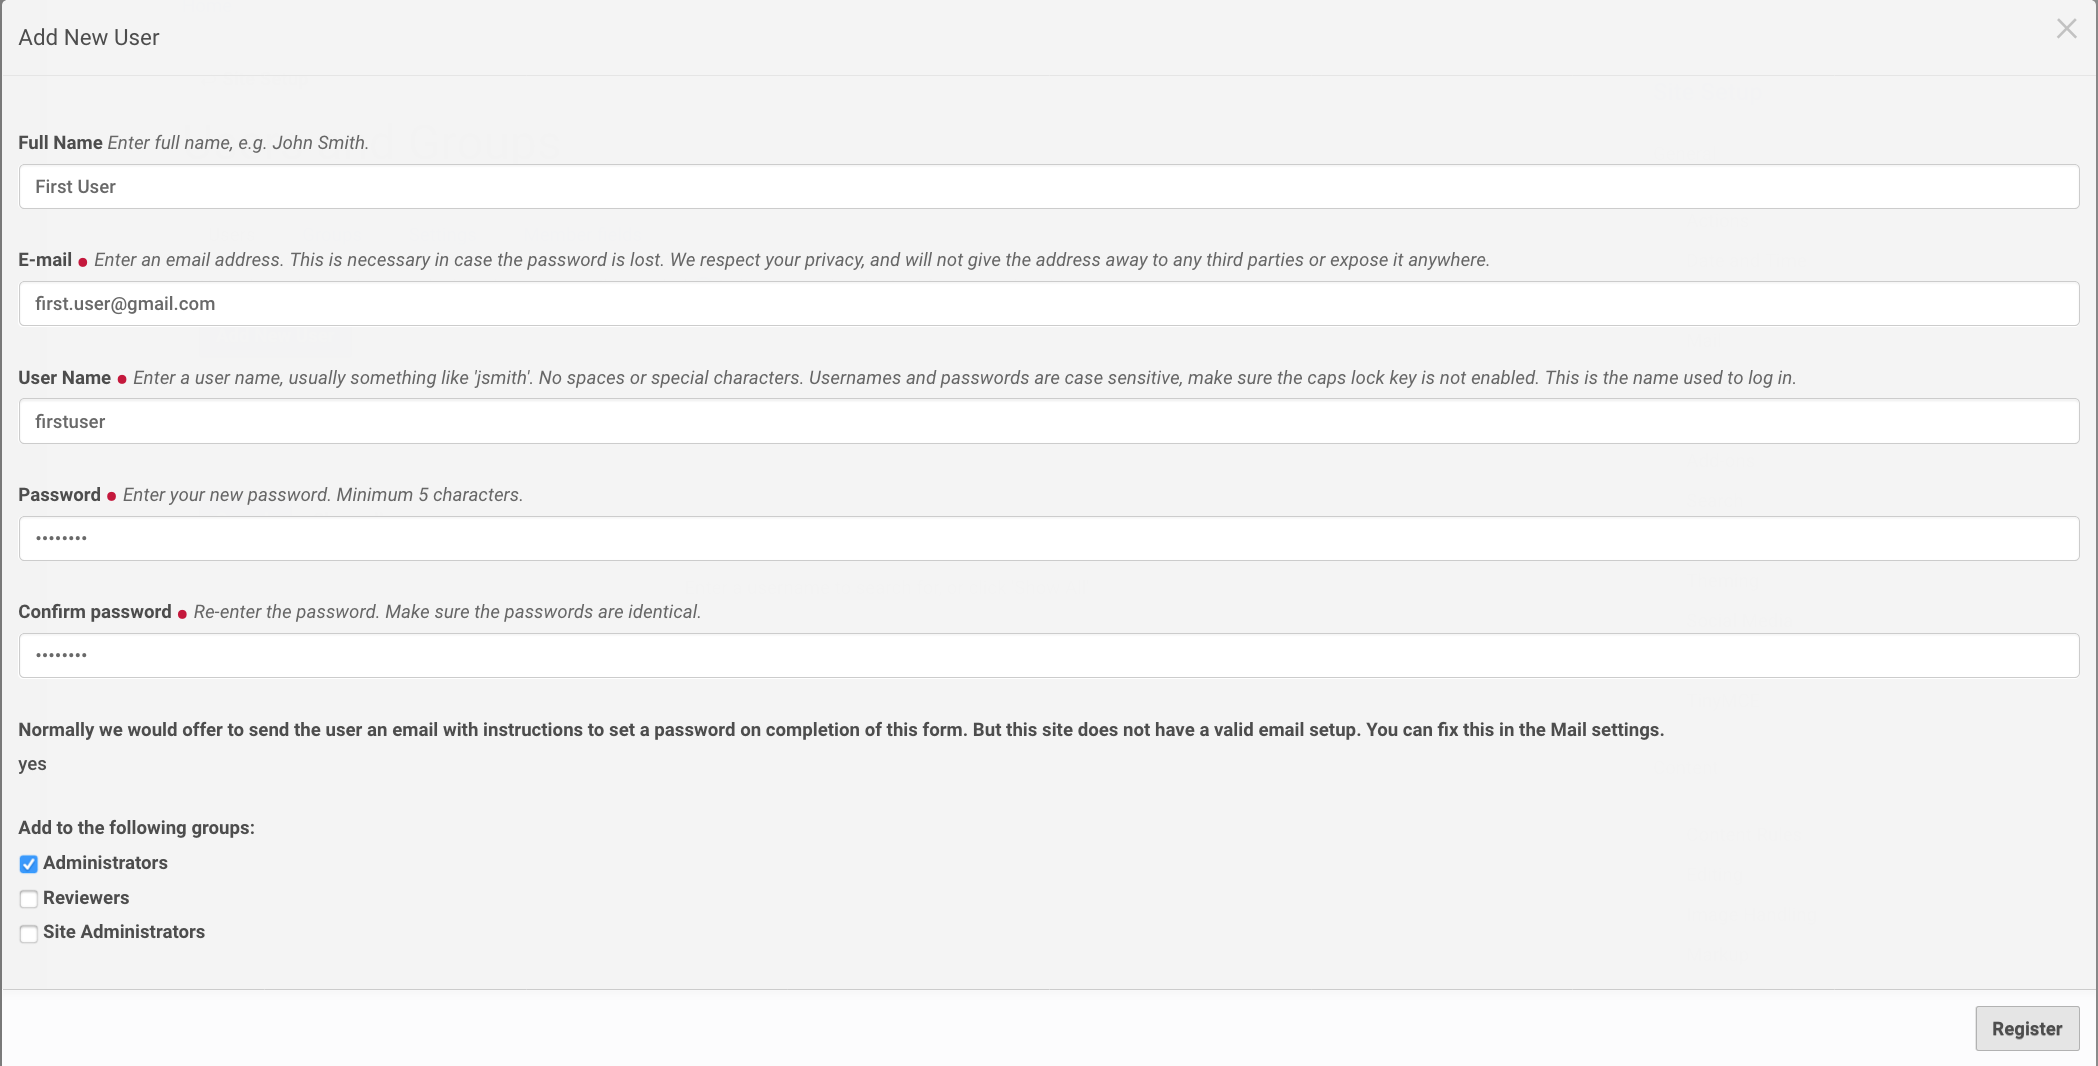
Click on Users and Groups and add a user. If we had configured a mail server, Plone could send you a mail with a link to a form where you can choose a password. (Or, if you have Products.PrintingMailHost in your buildout, you can see the email scrolling by in the console, just the way it would be sent out.) We set a password here because we haven't yet configured a mail server.
Make this user with your name an administrator.
Then create another user called testuser.
Make this one a normal user.
You can use this user to see how Plone looks and behaves to users that have no admin permissions.
Now let's see the site in 3 different browsers with three different roles:
as anonymous
as editor
as admin
Configure a Mailserver#
We have to configure a mailserver since later we will create some content rules that send emails when new content is put on our site.
Server:
localhostUsername: leave blank
Password: leave blank
Site 'From' name: Your name
Site 'From' address: Your email address
Click on Save and send test e-mail. Since we have configured PrintingMailHost, you will see the mail content in the console output of your instance. Plone will not
actually send the email to the receivers address.
Content-Types#
Edit a page:
Edit front-page
Title
Plone Conference 2019, Ferrara, ItalySummary
TutorialText
...
Create a site structure:
Add a folder "The Event" and in it add:
Folder "Talks"
Folder "Training"
Folder "Sprint"
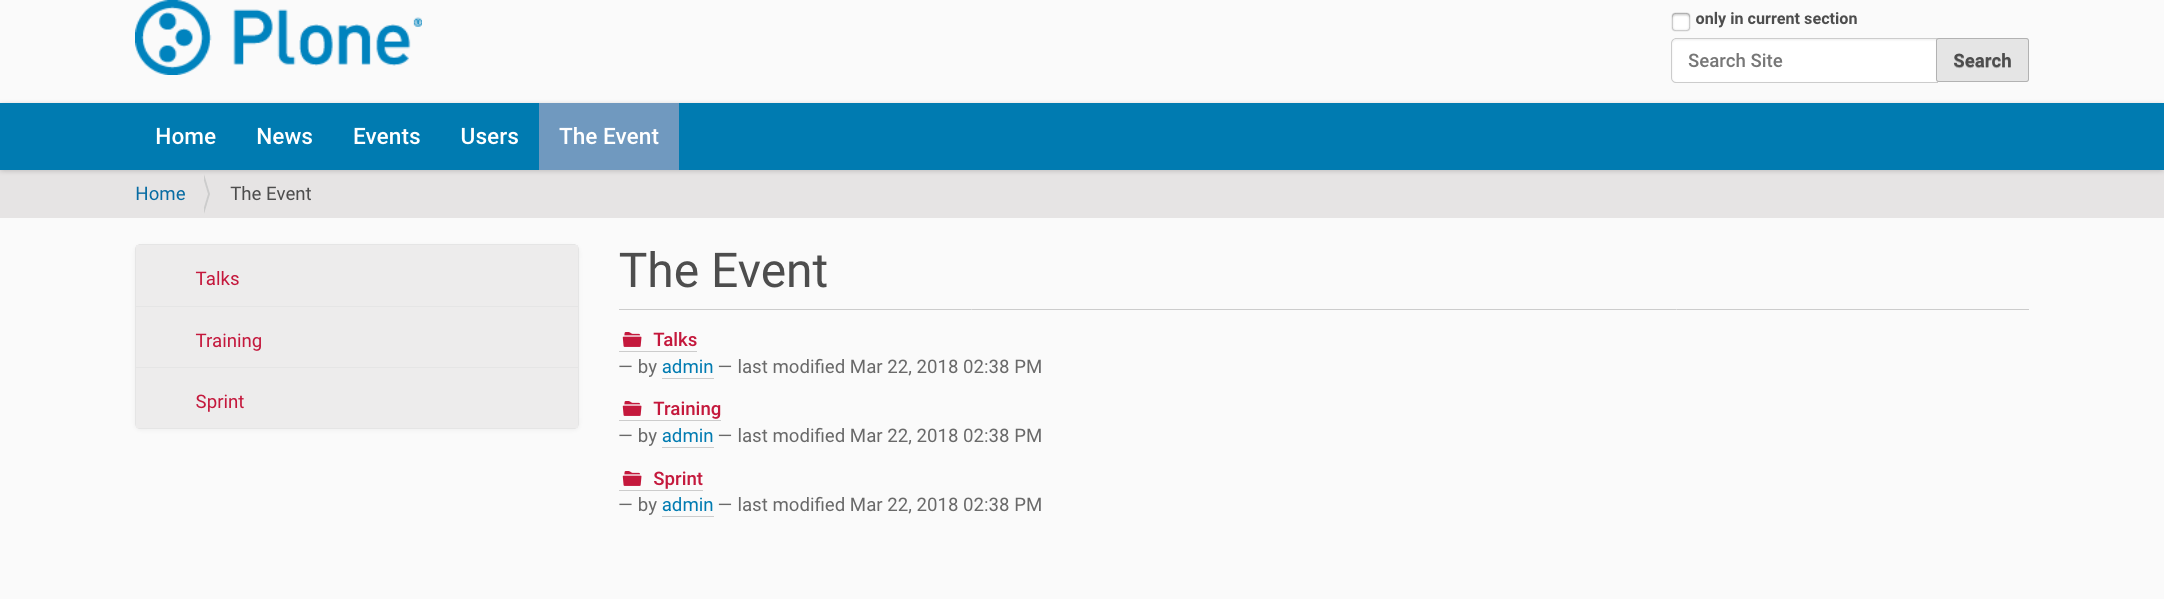
The view of the newly created site structure.#
In
/news: Add a News Item "Conference Website online!" with some imageIn
/news: Add a News Item "Submit your talks!"In
/events: Add an Event "Deadline for talk submission" Date: 2019/08/10Add a Folder "Register"
Delete the Folder "Users"
Add a Folder "Intranet"

The view of the extended navigation bar.#
The default Plone content types are:
Collection
Event
File
Folder
Image
Link
News Item
Page
Note
Please keep in mind that we use plone.app.contenttypes for the training, which are the default in Plone 5. Therefore the types are based on Dexterity and slightly different from the types that you will find in a default Plone 4.3.x site.
Folders#
Go to 'the-event'
explain the difference between title, ID, and URL
explain /folder_contents
change the order of items
explain bulk actions
dropdown "display"
default pages
Add a page to 'the-event': "The Event" and make it the default page
Collections#
add a new collection: "all content that has
pendingas wf_state".
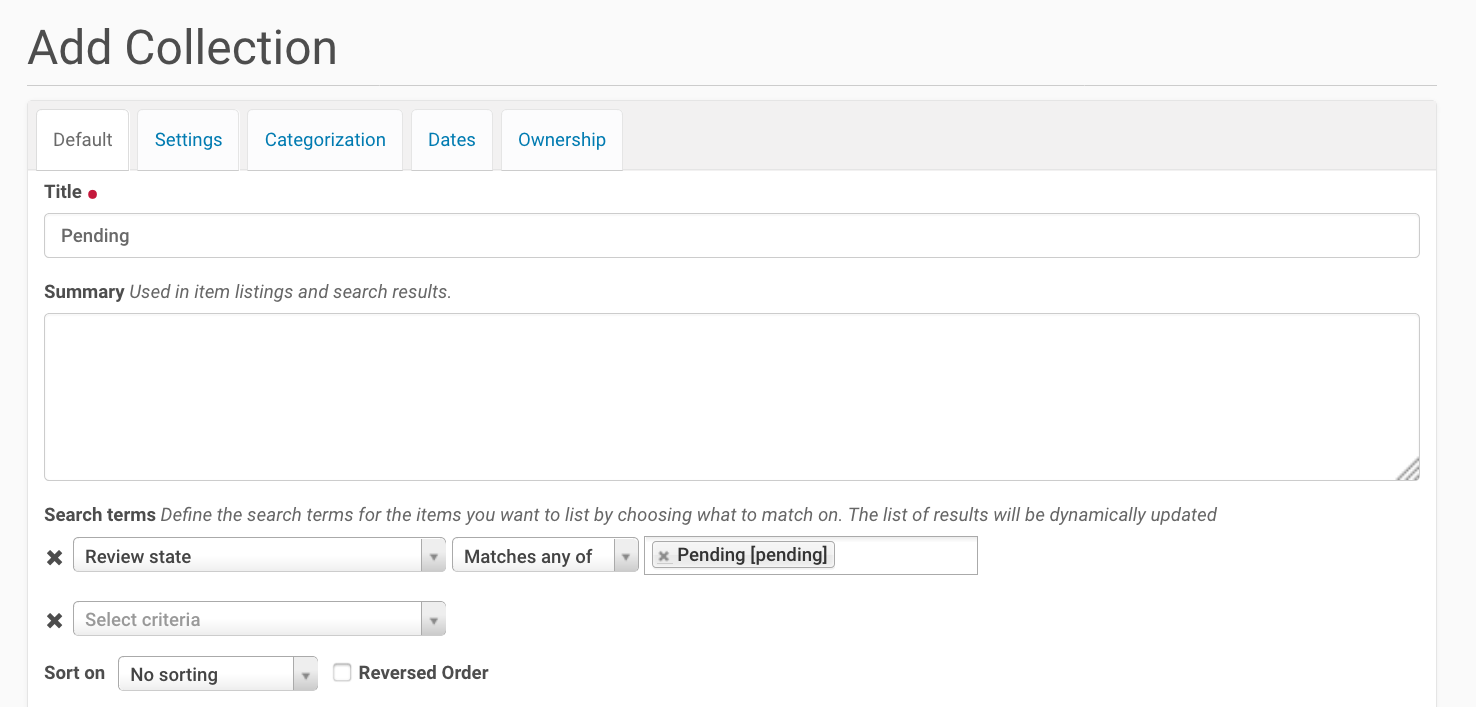
Add a collection through the web.#
explain the default collection for events at http://localhost:8080/Plone/events/aggregator/edit
explain Topics
mention collection portlets
multi-path queries
constraints, e.g.
/Plone/folder::1
Content Rules#
Create new rule "a new talk is in town"!
New content in folder "Talks" -> Send Mail to reviewers.
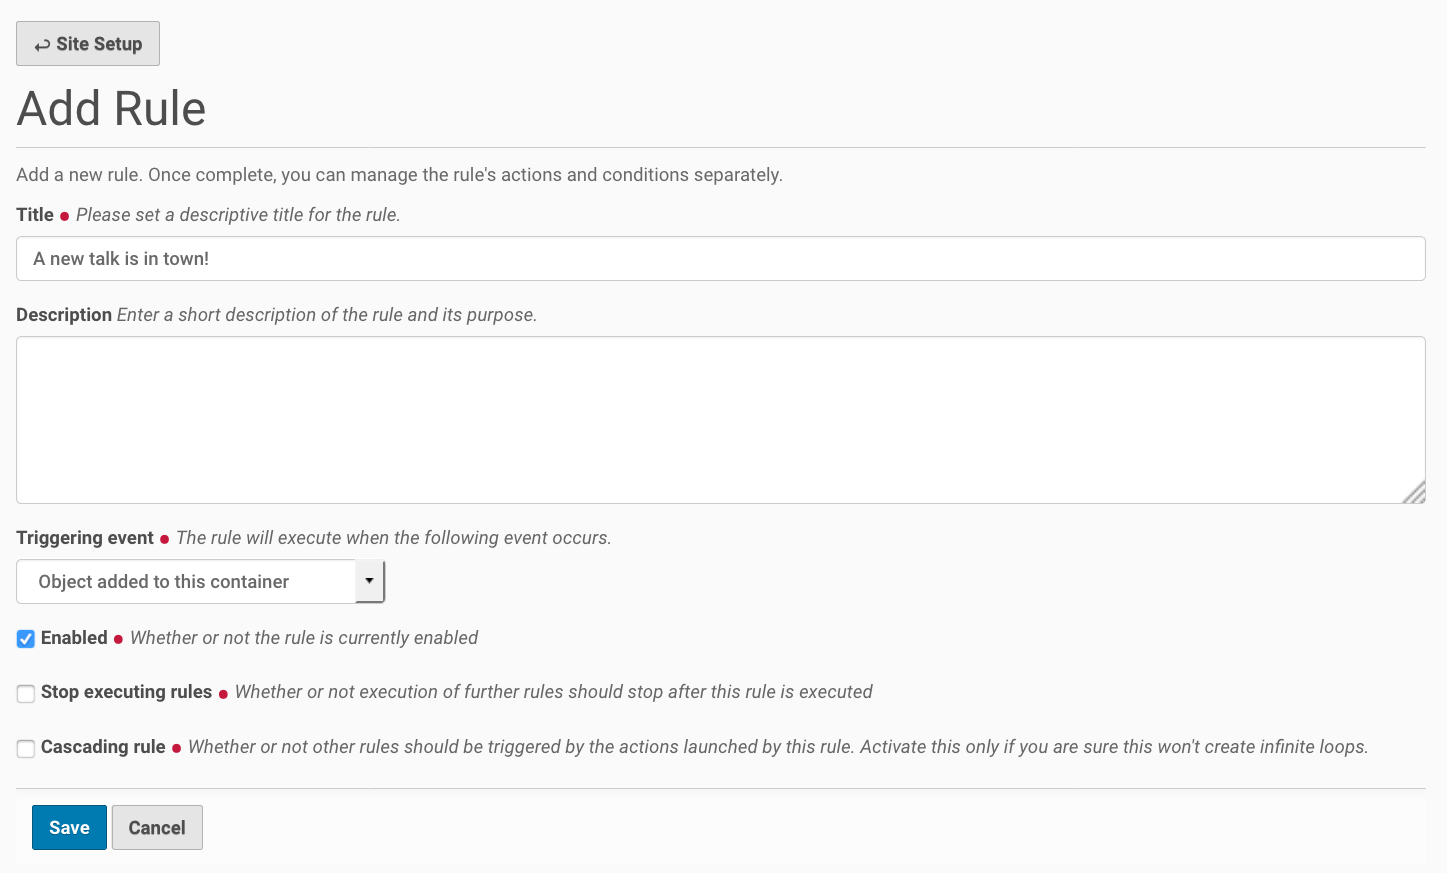
Add a rule through the web.#
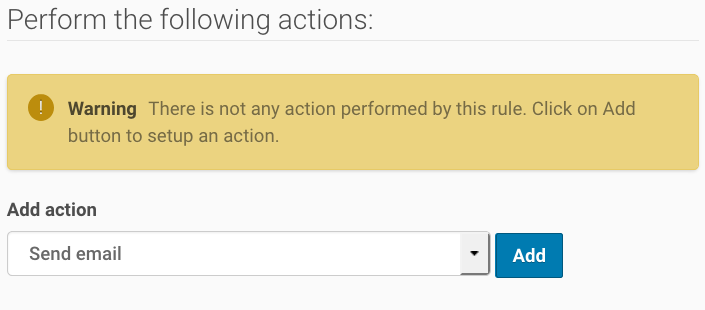
Add an action to the rule.#
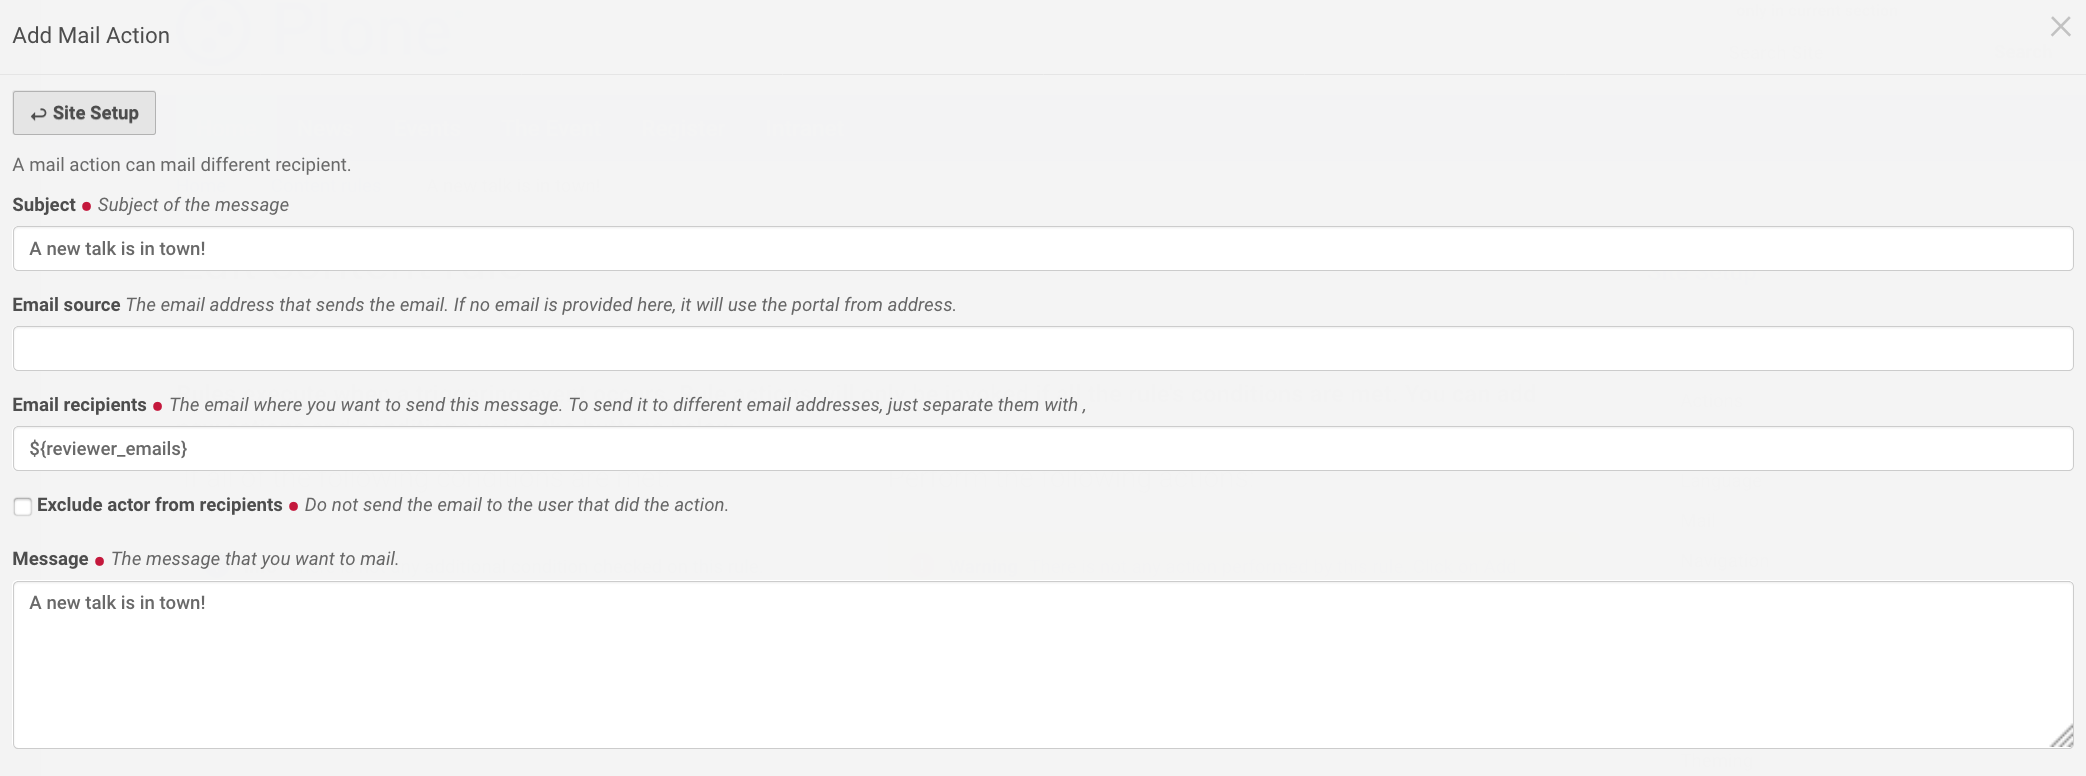
Add mail action.#
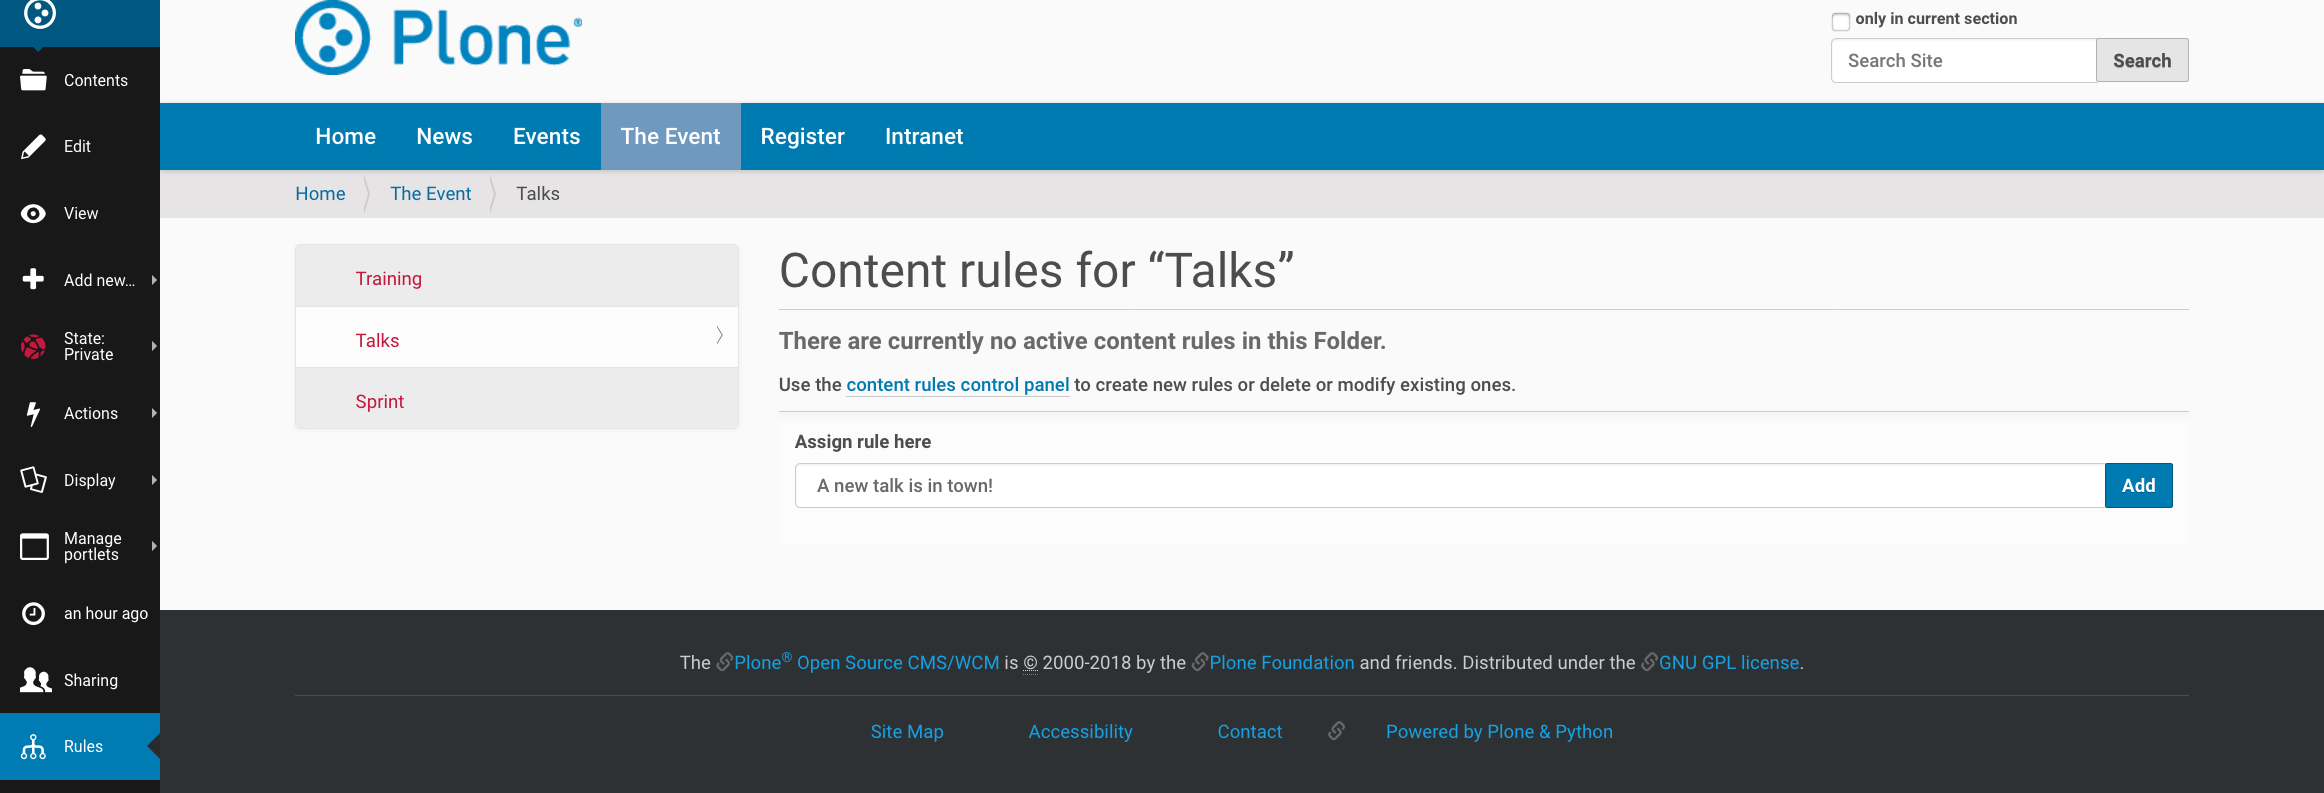
Assign the newly created rule.#
History#
Show and explain; mention versioning and its relation to types.
Manage members and groups#
add/edit/delete Users
roles
groups
Add group "Editors" and add the user 'editor' to it
Add group:
orgaAdd group:
juryand add user 'jurymember' to it.
Workflows#
Take a look at the state drop down on the edit bar on the homepage.
Now, navigate to one of the folders just added.
The homepage has the status published and the new content is private.
Let's look at the state transitions available for each type. We can make a published item private and a private item published. We can also submit an item for review.
Each of these states connects roles to permissions.
In
publishedstate, the content is available to anonymous visitors;In
privatestate, the content is only viewable by the author (owner) and users who have thecan viewrole for the content.
A workflow state is an association between a role and one or more permissions.
Moving from one state to another is a transition.
Transitions (like submit for review) may have actions — such as the execution of a content rule or script — associated with them.
A complete set of workflow states and transitions makes up a workflow. Plone allows you to select among several pre-configured workflows that are appropriate for different types of sites. Individual content types may have their own workflow. Or, and this is particularly interesting, they may have no workflow. In that case, which initially applies to file and image uploads, the content object inherits the workflow state of its container.
Note
An oddity in all of the standard Plone workflows: a content item may be viewable even if its container is not. Making a container private does not automatically make its contents private.
Read more at: https://5.docs.plone.org/working-with-content/collaboration-and-workflow/index.html
Working copy#
Published content, even in an intranet setting, can pose a special problem for editing. It may need to be reviewed before changes are made available. In fact, the original author may not even have permission to change the document without review. Or, you may need to make a partial edit. In either case, it may be undesirable for changes to be immediately visible.
Plone's working copy support solves this problem by adding a check-out/check-in function for content — available on the actions menu. A content item may be checked out, worked on, then checked back in. Or it may be abandoned if the changes weren't acceptable. Not until check in is the new content visible.
While it's shipped with Plone, working copy support is not a common need. So, if you need it, you need to activate it via the add-on packages configuration page. Unless activated, check-in/check-out options are not visible.
Note
Working Copy Support has limited support for Dexterity content types. The limitation is that there are some outstanding issues with folderish items that contain many items. See: plone/Products.CMFPlone#665
Placeful workflows#
You may need to have different workflows in different parts of a site. For example, we created an intranet folder. Since this is intended for use by our conference organizers — but not the public — the simple workflow we wish to use for the rest of the site will not be desirable.
Plone's Workflow Policy Support package gives you the ability to set different workflows in different sections of a site.
Typically, you use it to set a special workflow in a folder that will govern everything under that folder.
Since it has effect in a "place" in a site, this mechanism is often called "Placeful Workflow".
As with working-copy support, Placeful Workflow ships with Plone but needs to be activated via the add-on configuration page. Once it's added, a Policy option will appear on the state menu to allow setting a placeful workflow policy.